Integrating the OneRamp SDK with React and Next.js
Guide to Integrating OneRamp SDK with React and Next.js for Seamless Off-Ramp Transactions

Software developer / entrepreneur. Part of a team creating and growing. @bookabieonline
Web3 / crypto
Not selling monkey images but -- building software on Ethereum
In this tutorial, we will guide you through the process of integrating the OneRamp SDK into a React application using Next.js. The OneRamp SDK allows you to facilitate off-ramp transactions for users, enabling them to convert stable coins to mobile money.
To get started, follow these steps:
Prerequisites
Node.js and npm: Make sure you have Node.js and npm installed on your development machine.
Next.js: You should have a basic understanding of Next.js, as this tutorial assumes you have a Next.js project set up.
OneRamp Account: You will need to sign up for a OneRamp account to get your
clientPubandsecretKey. Find this from your oneramp dashboard.
Setting up the Project
- Clone the starter template from github
git clone https://github.com/oneramp/offramp-next-dapp.git
- Install the required packages:
npm install
This will install all the required dependencies including the oneramp package.
- Run the project
npm run dev
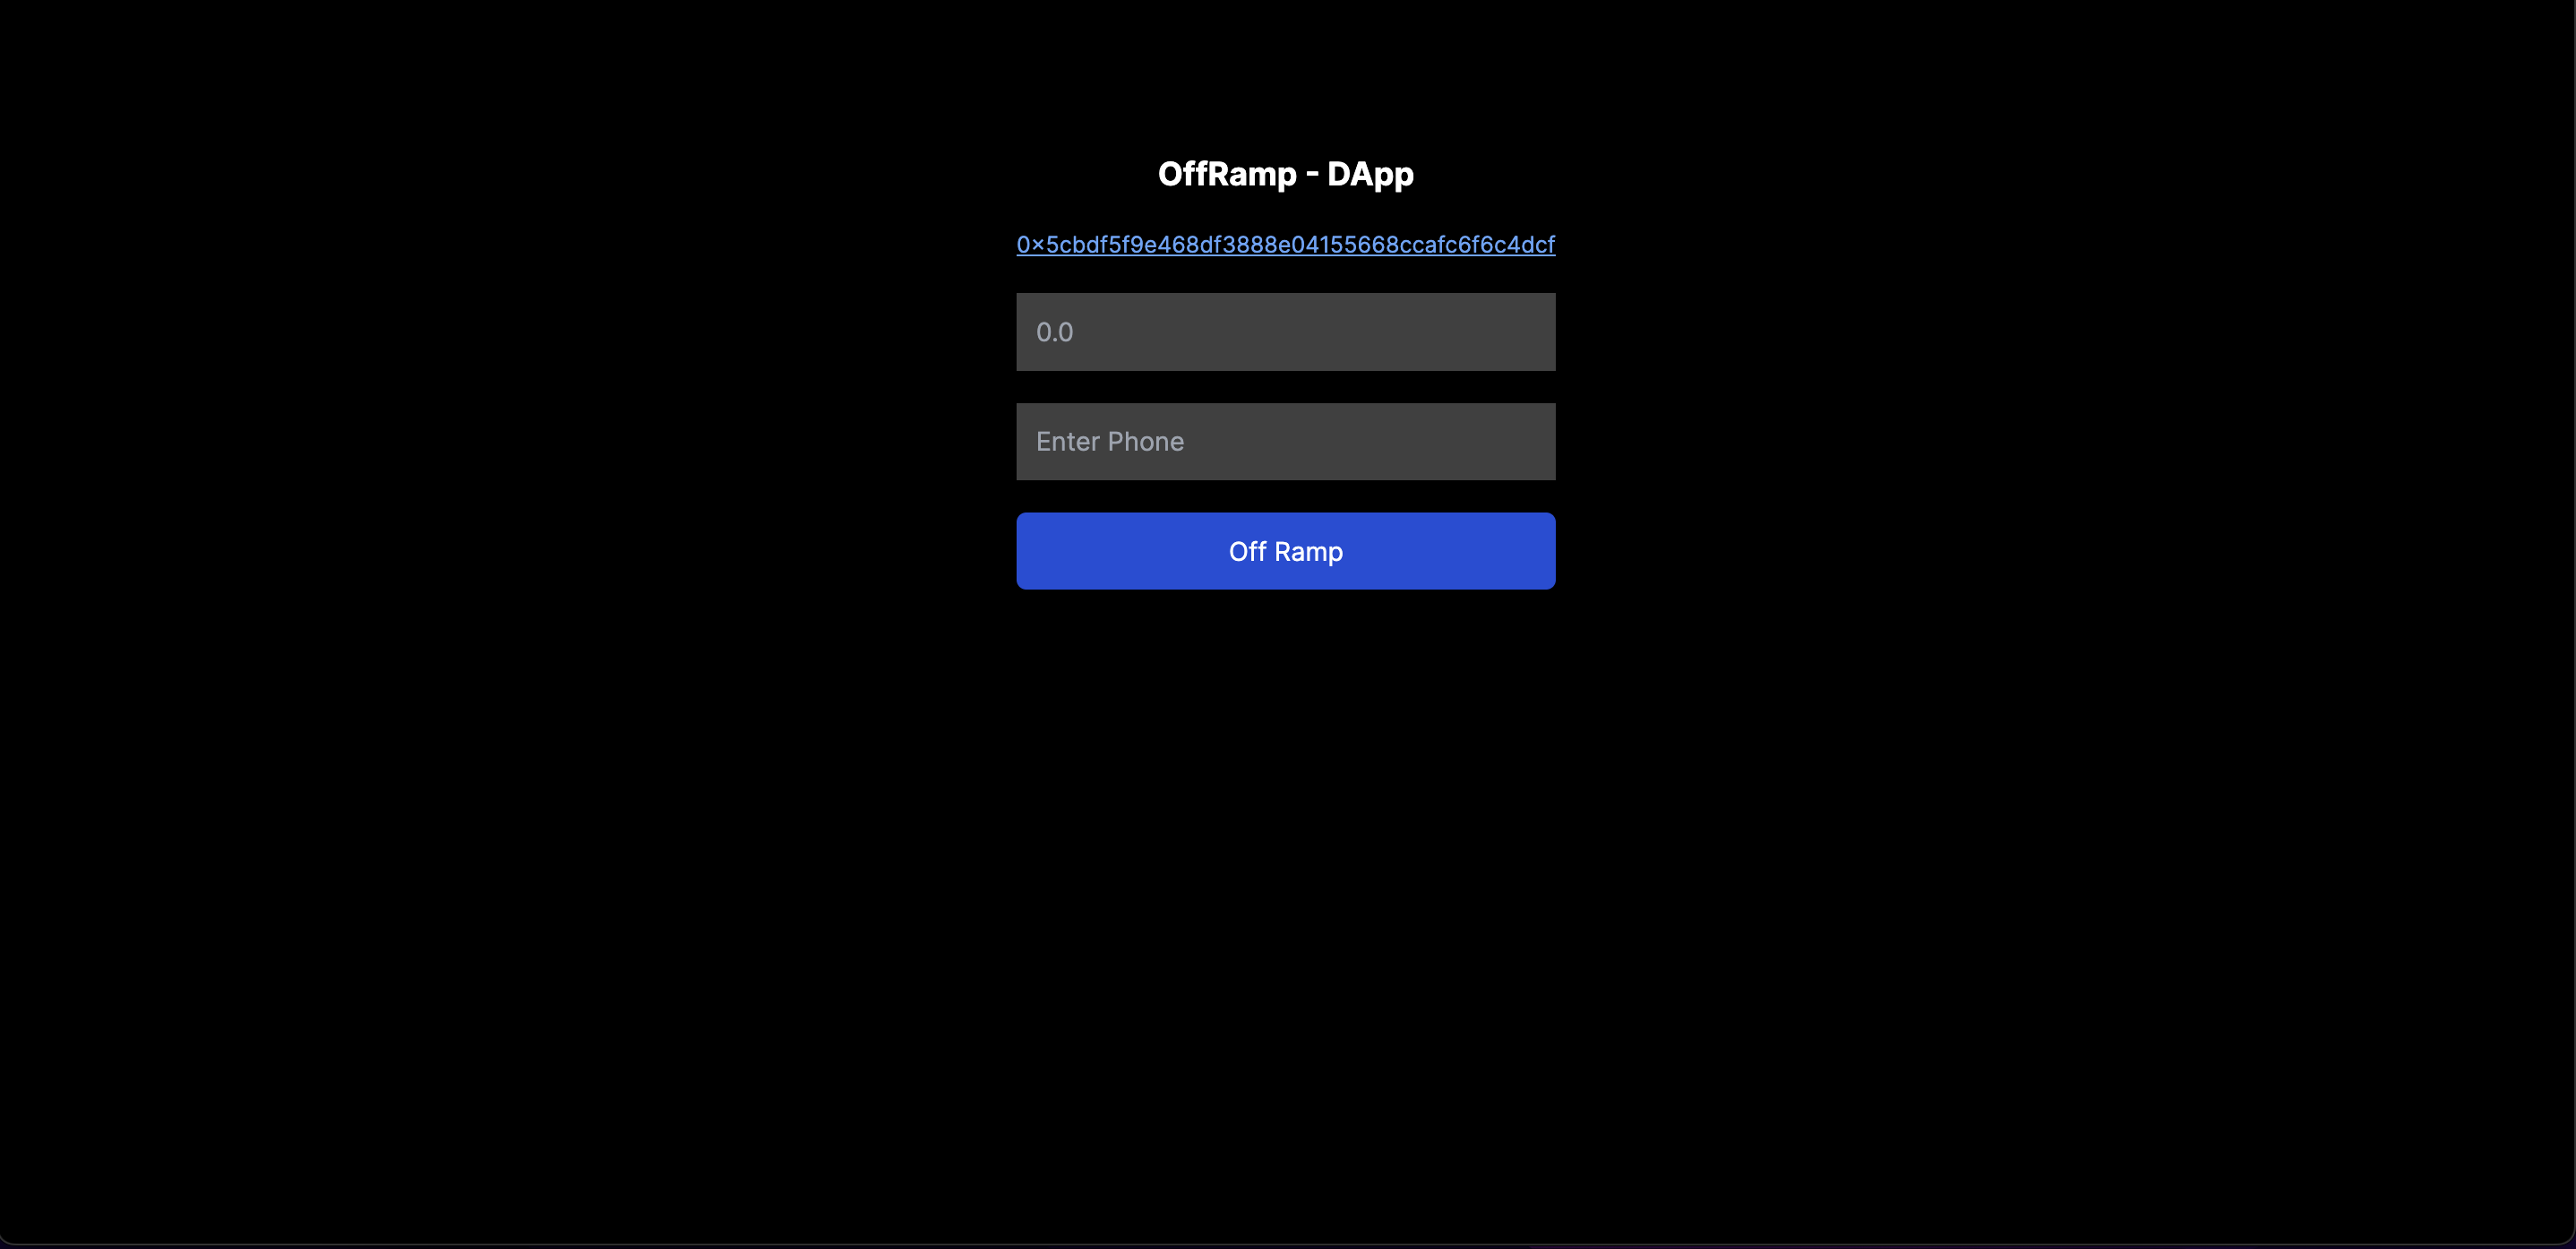
- Press the Connect button in your wallet and this will show this Output UI:
Initializing the package
Let's first set up the essentials. Import the necessary modules, including oneramp and various libraries. The useConnect hook is imported from a custom file called 'useConnect,' which handles wallet connections.
// pages/offramp.js
import React, { useState } from 'react';
import { ethers } from 'ethers';
import { RotatingSquare } from 'react-loader-spinner';
import useConnect from '../hooks/useConnect';
import { OneRamp } from '@oneramp/sdk';

const clientPub = 'YOUR_CLIENT_PUBLIC_KEY';
const secretKey = 'YOUR_SECRET_KEY';
Initialize several state variables using useState to keep track of loading indicators, error messages, blockchain explorer links, and user input, including the amount and phone number.
Additionally, declare two constants, clientPub and secretKey, which should be replaced with your OneRamp client credentials.
 const handleSubmit = async () => {
    setLoading(true);

    try {
      if (!amount || !phone) {
        alert('You need to fill in all fields');
        return;
      }
When a user clicks the "Off Ramp" button, the handleSubmit function is triggered. It sets the loading state to indicate that an action is in progress.
Next, it checks if the user has entered values for both the amount and phone number fields. If either field is empty, an alert is displayed, informing the user to fill in all the required fields, and the function exits.
 const { ethereum } = window;
 const provider = new ethers.BrowserProvider(ethereum);
 await provider.send('eth_requestAccounts', []);
 const signer = await provider.getSigner();

 const oneramp = new OneRamp('mumbai', clientPub, secretKey, provider, signer);
This section of handleSubmit, we connect to the user's Ethereum wallet, access the provider from the user's browser window and create an Ethereum provider using ethers.
After that, the code sends a request to the user's wallet to fetch their accounts, and it obtains a signer.
With these components in place, we create an instance of the OneRamp class, specifying the 'Mumbai' network, clientPub, secretKey, the provider, and the signer.
const result = await oneramp.offramp('usdt', Number(amount), phone.toString());

      if (result.success) {
        setLoading(false);
        setExplorer(`https://alfajores.celoscan.io/tx/${result.response.txHash}`);
        setAmount('');
        setPhone('');
      } else {
        setLoading(false);
        setError('Failed to make the transaction');
      }
    } catch (error) {
      console.error(error);
      setLoading(false);
      setError(error);
    }
  };
In the final part, the code initiates an off-ramp transaction using the offramp method provided by the OneRamp instance. If the transaction is successful, the UI is updated with the transaction details, and the input fields are cleared.
However, if there's an error, it is logged, the loading state is updated, and an error message is displayed.
Testing out the Dapp
To test the full implementation, you'll need some test USDT. You can get this from the oneramp faucet here.
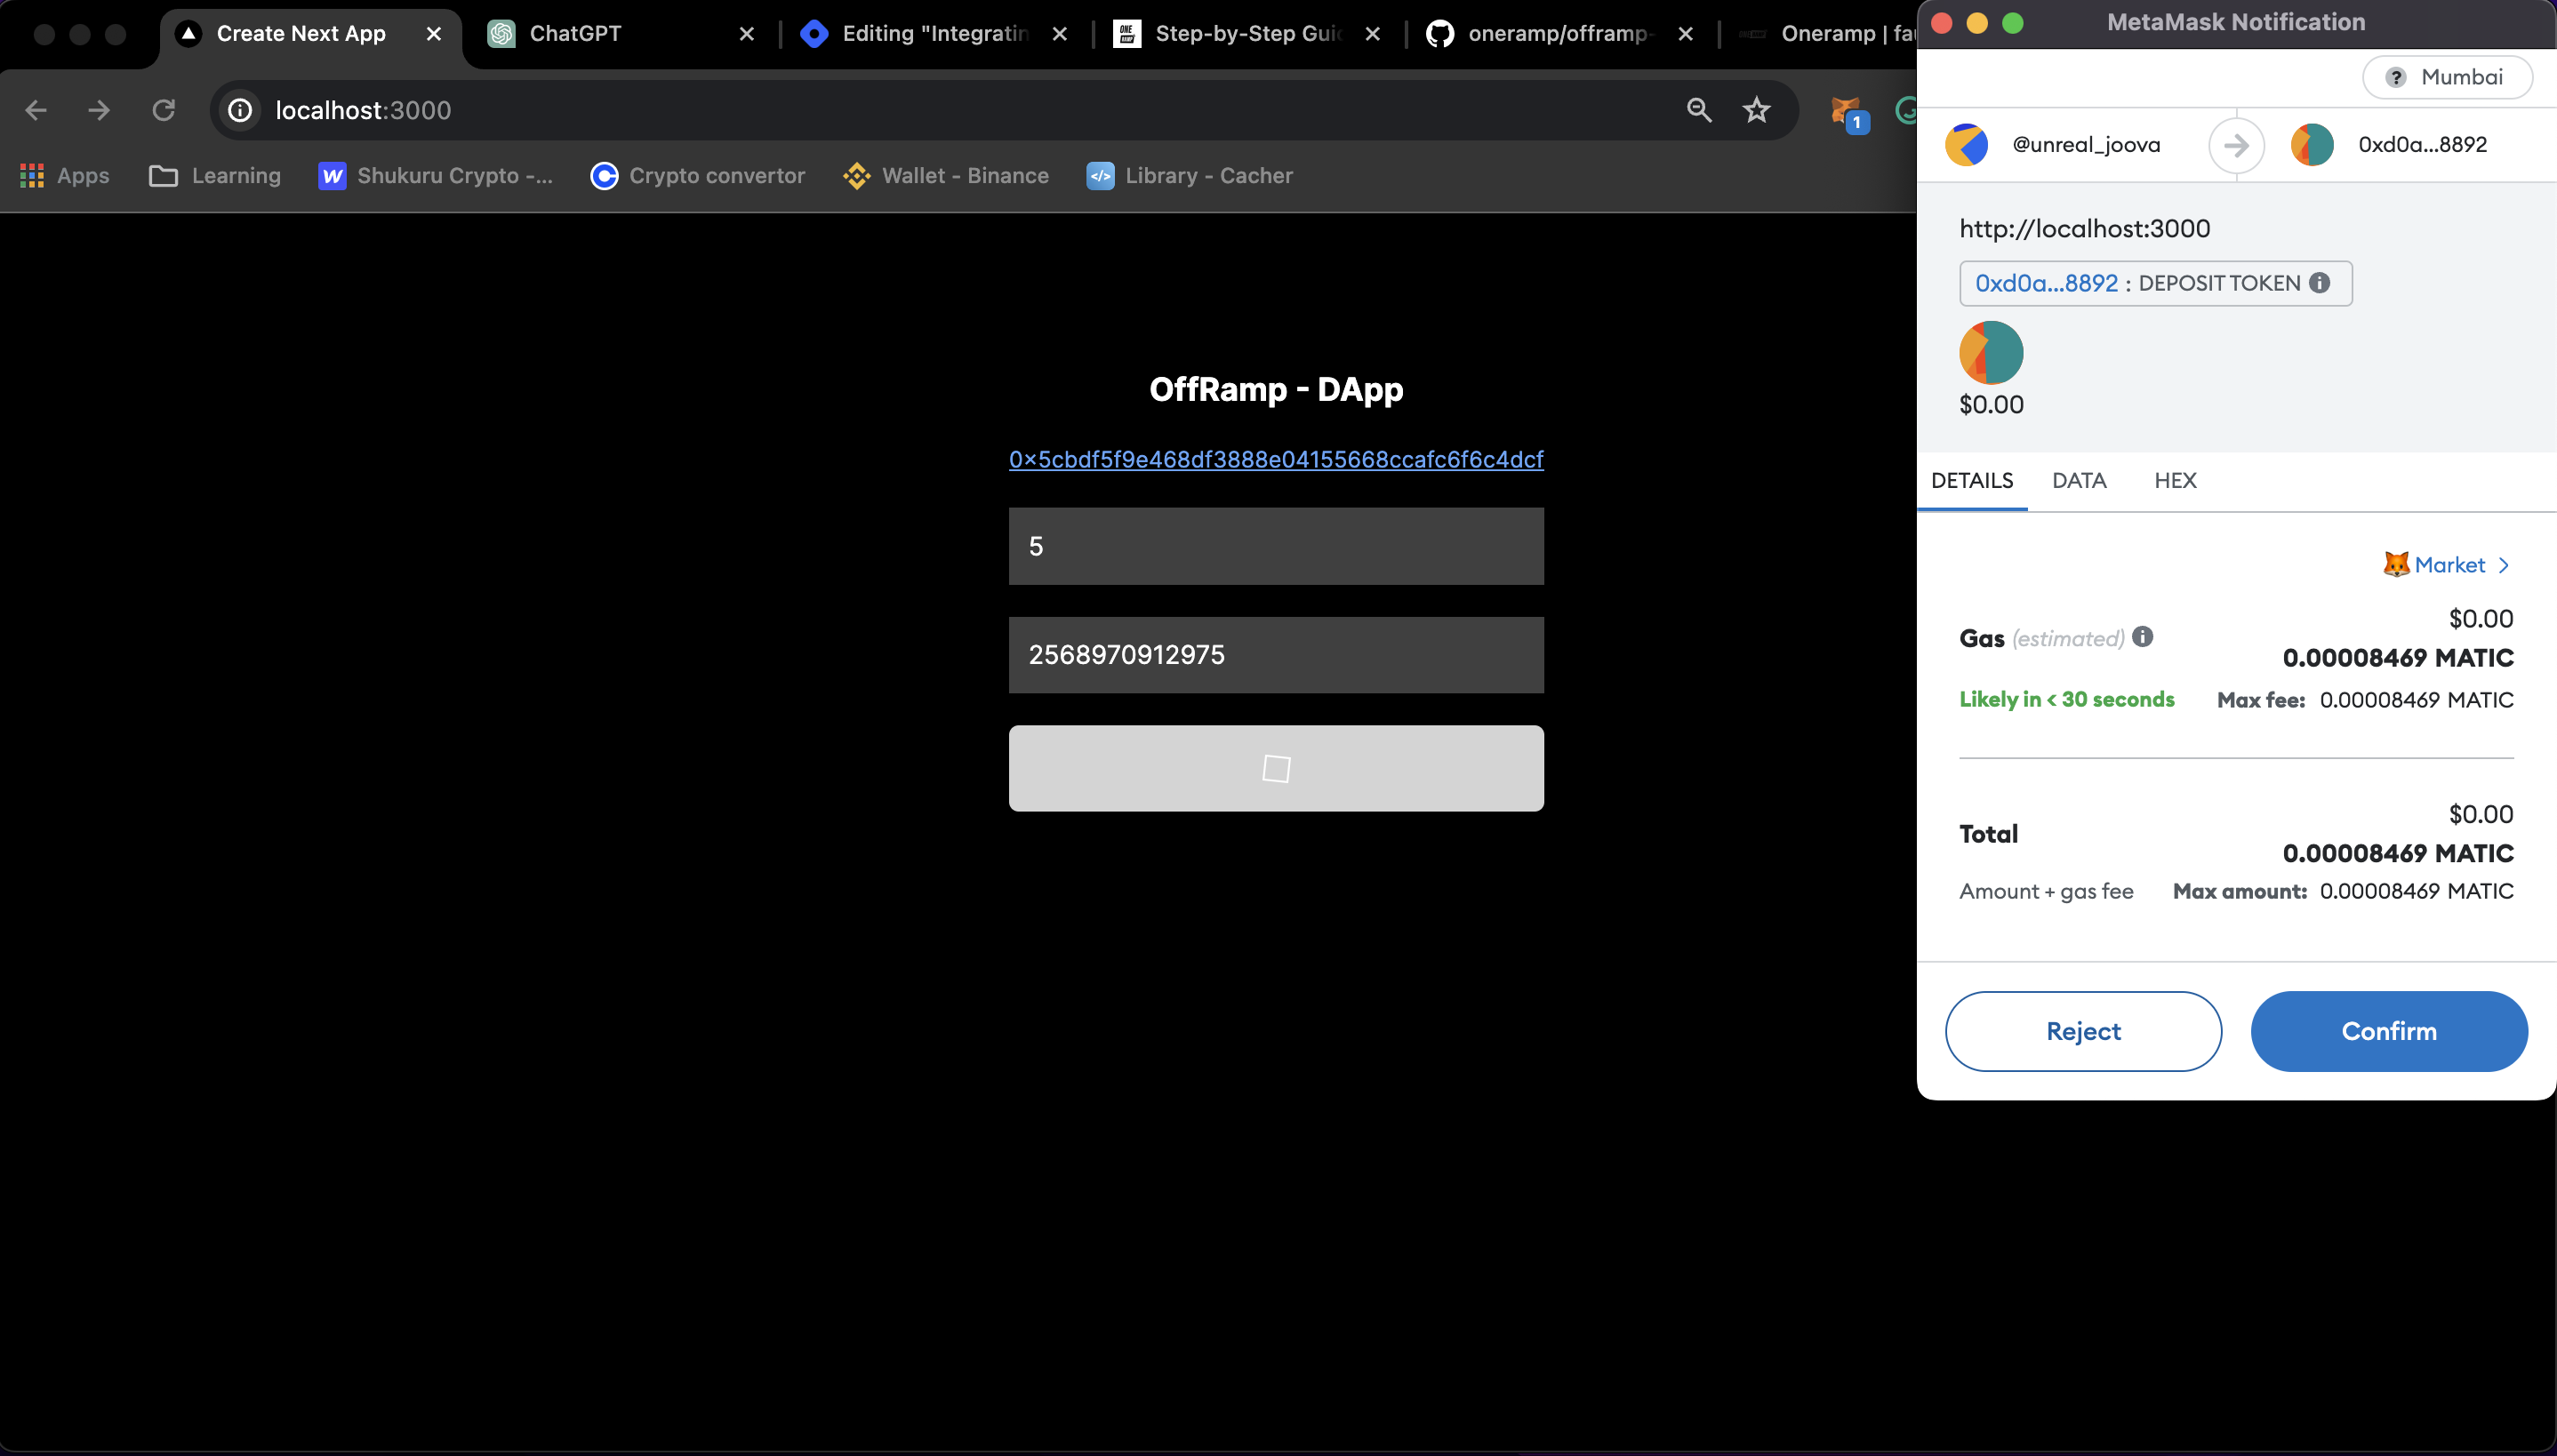
We are going to attempt to offramp 5 USDT using our Dapp. Enter the relevant info in the dApp as shown below.

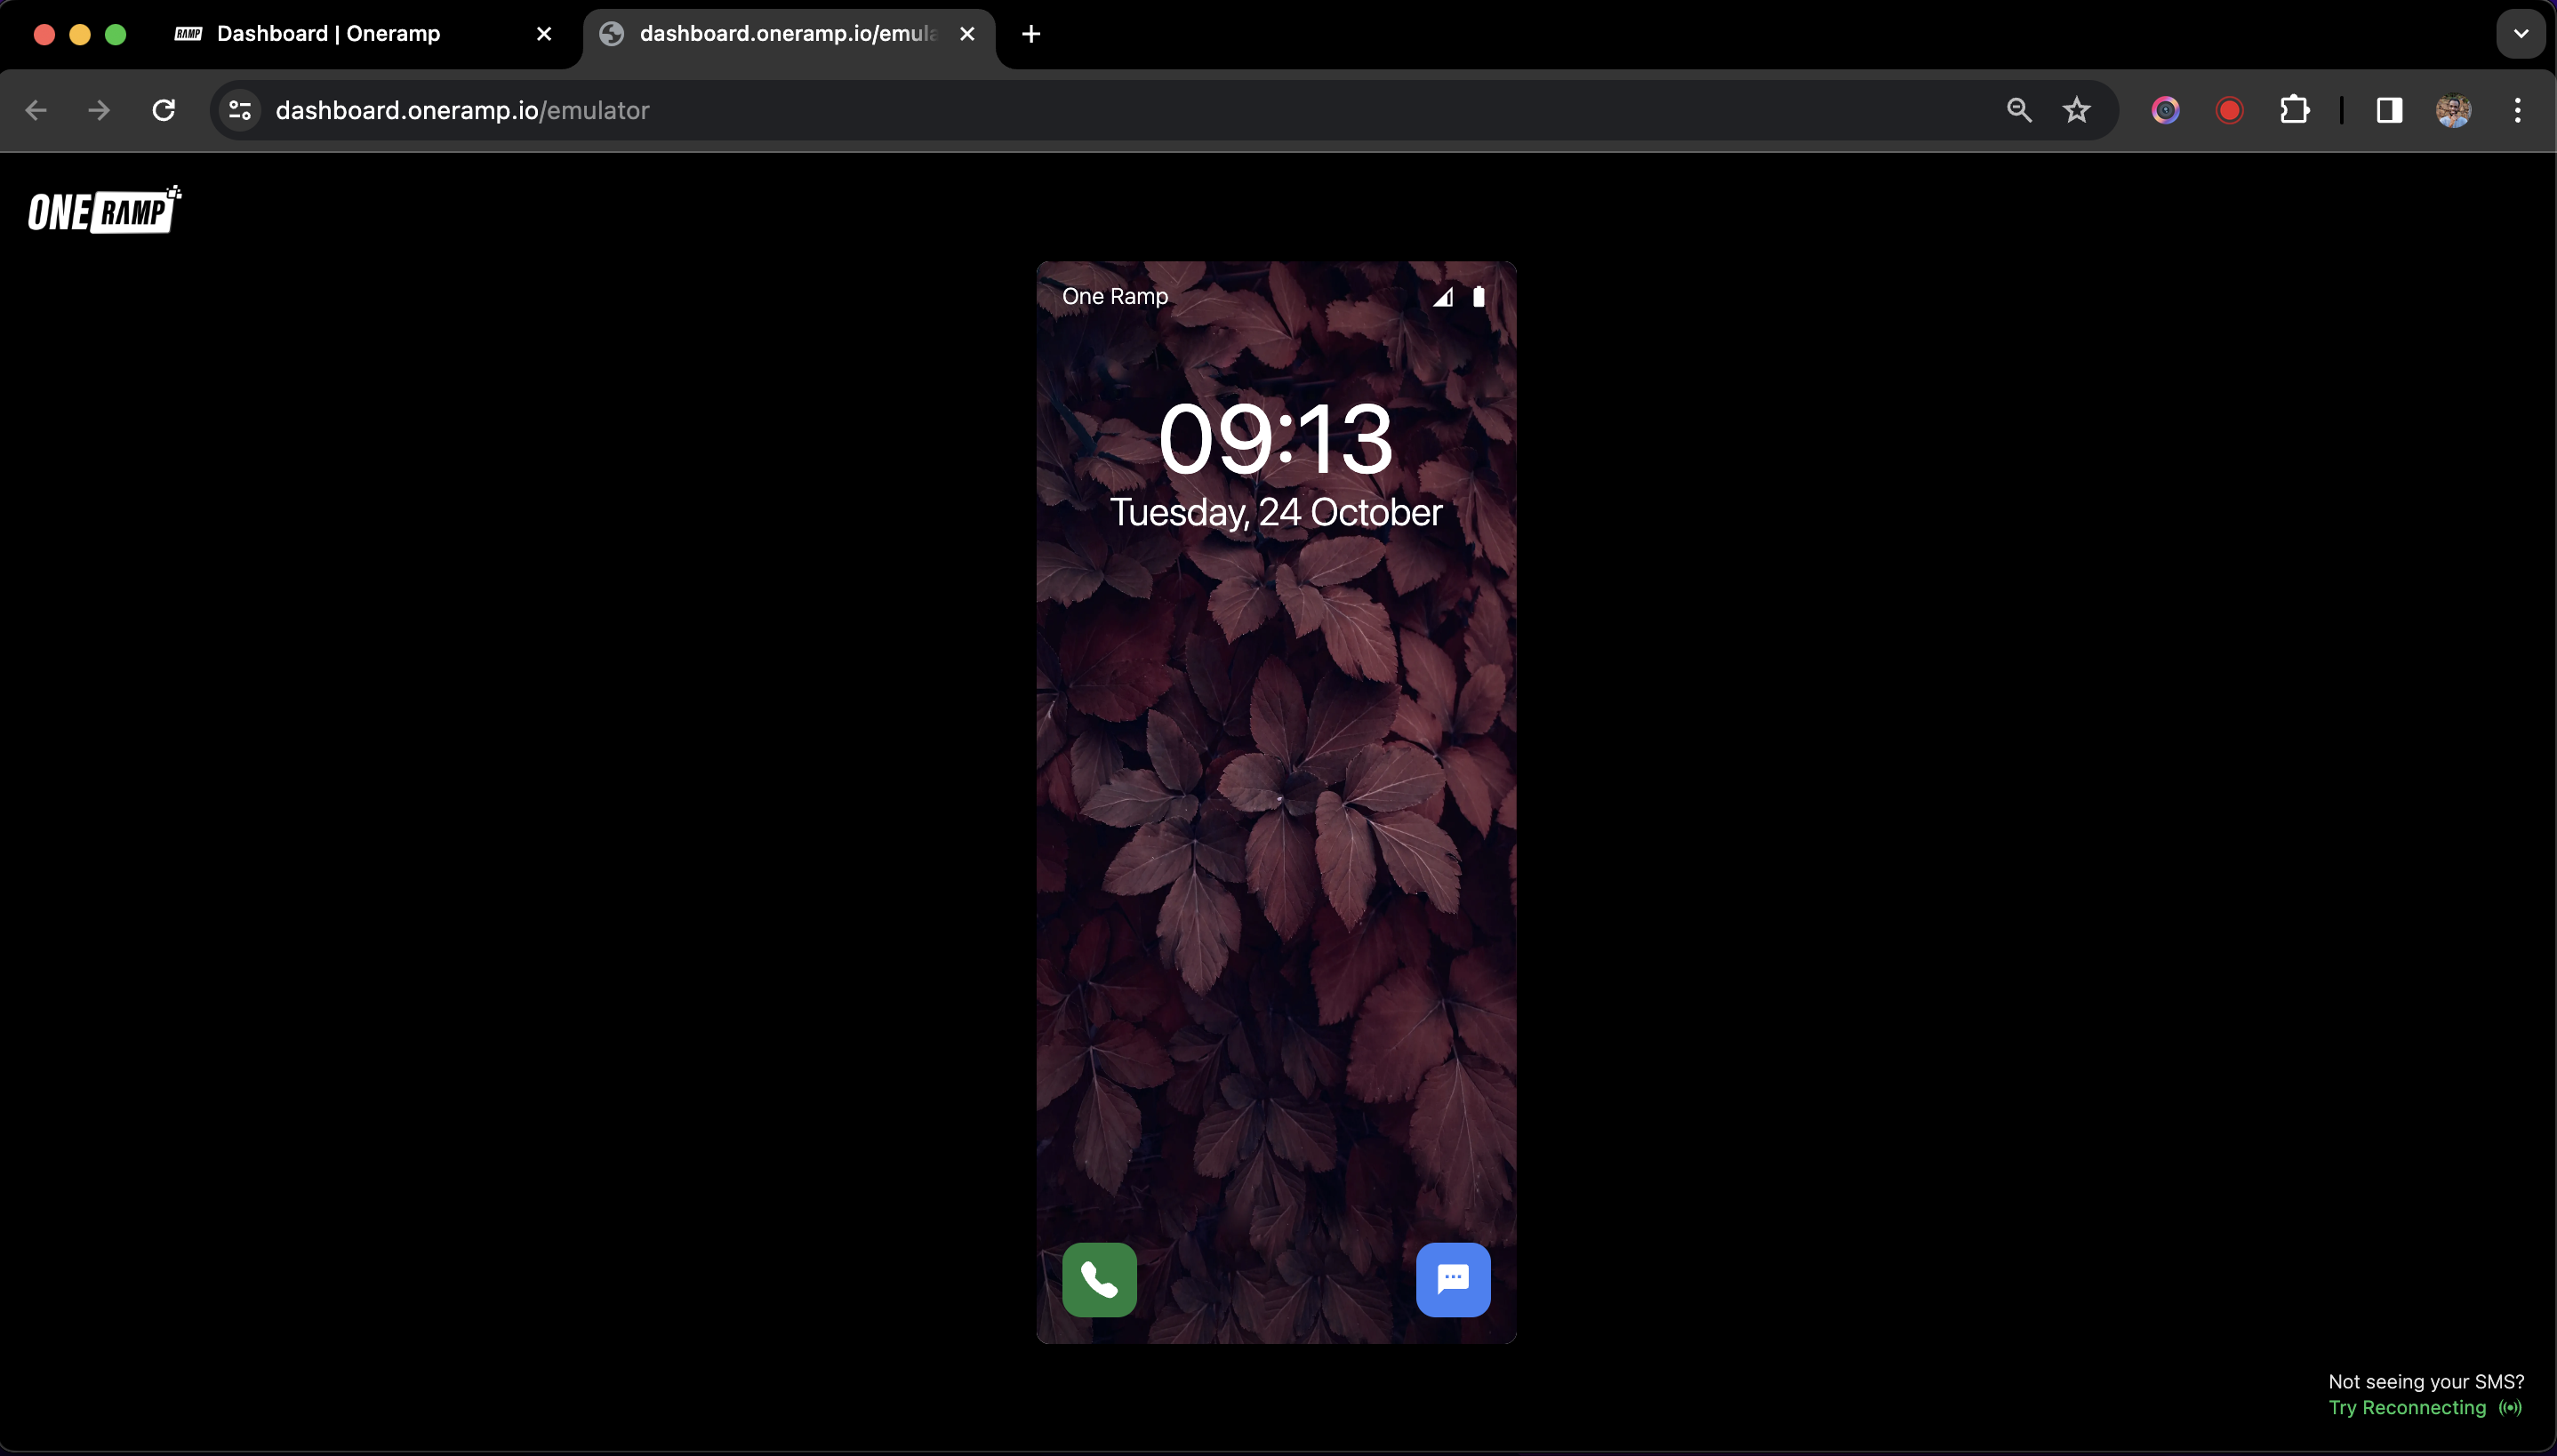
I can simulate the life of the transaction as it would happen in real life using the oneramp simulated in my dashboard, by monitoring its SMS confirmations to the user.
Make sure your wallet is connected to the 'MUMBAI' network and Press the Off Ramp button to start the offramp process.
This will trigger your wallet to approve a net spend request and confirm the withdrawal transaction as shown below.
Net Spend

Approve

Confirm withdraw
When all has been accepted, a user will get a top-up of their balance once the transaction has been approved on the chain, and the simulator will trigger the confirmation mobile money SMS for the transaction, as shown below.
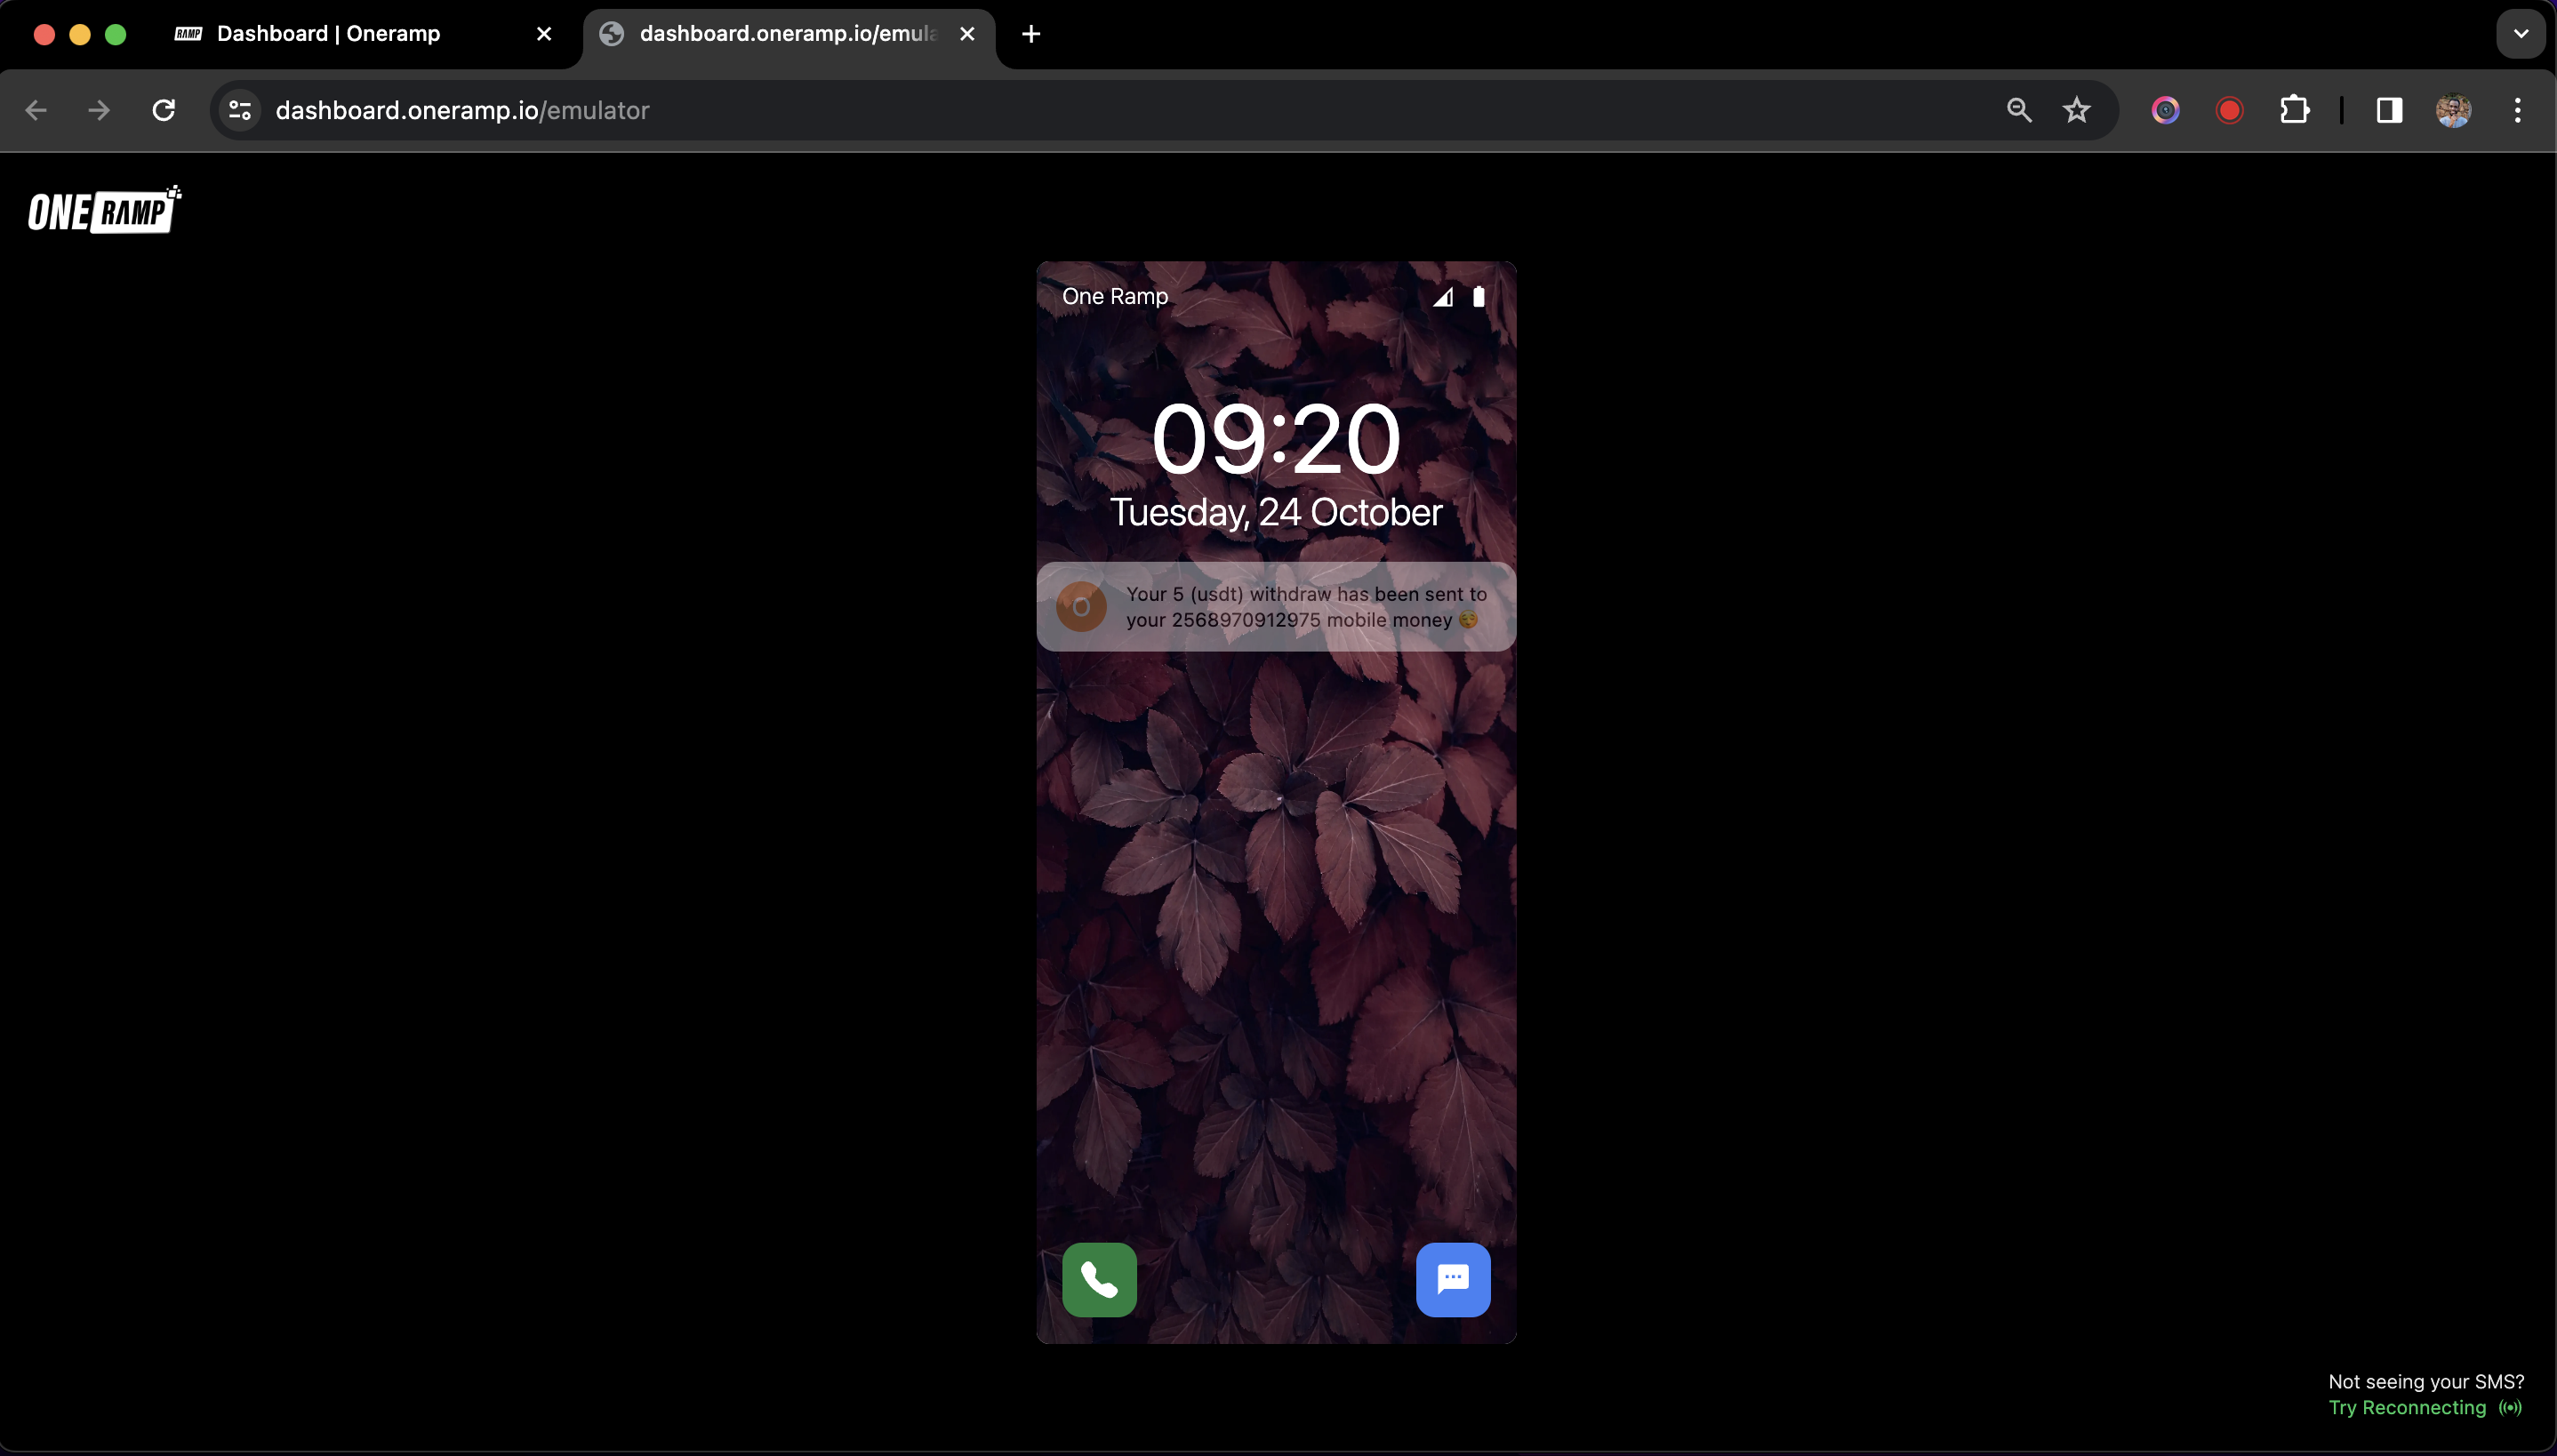
Expanded.
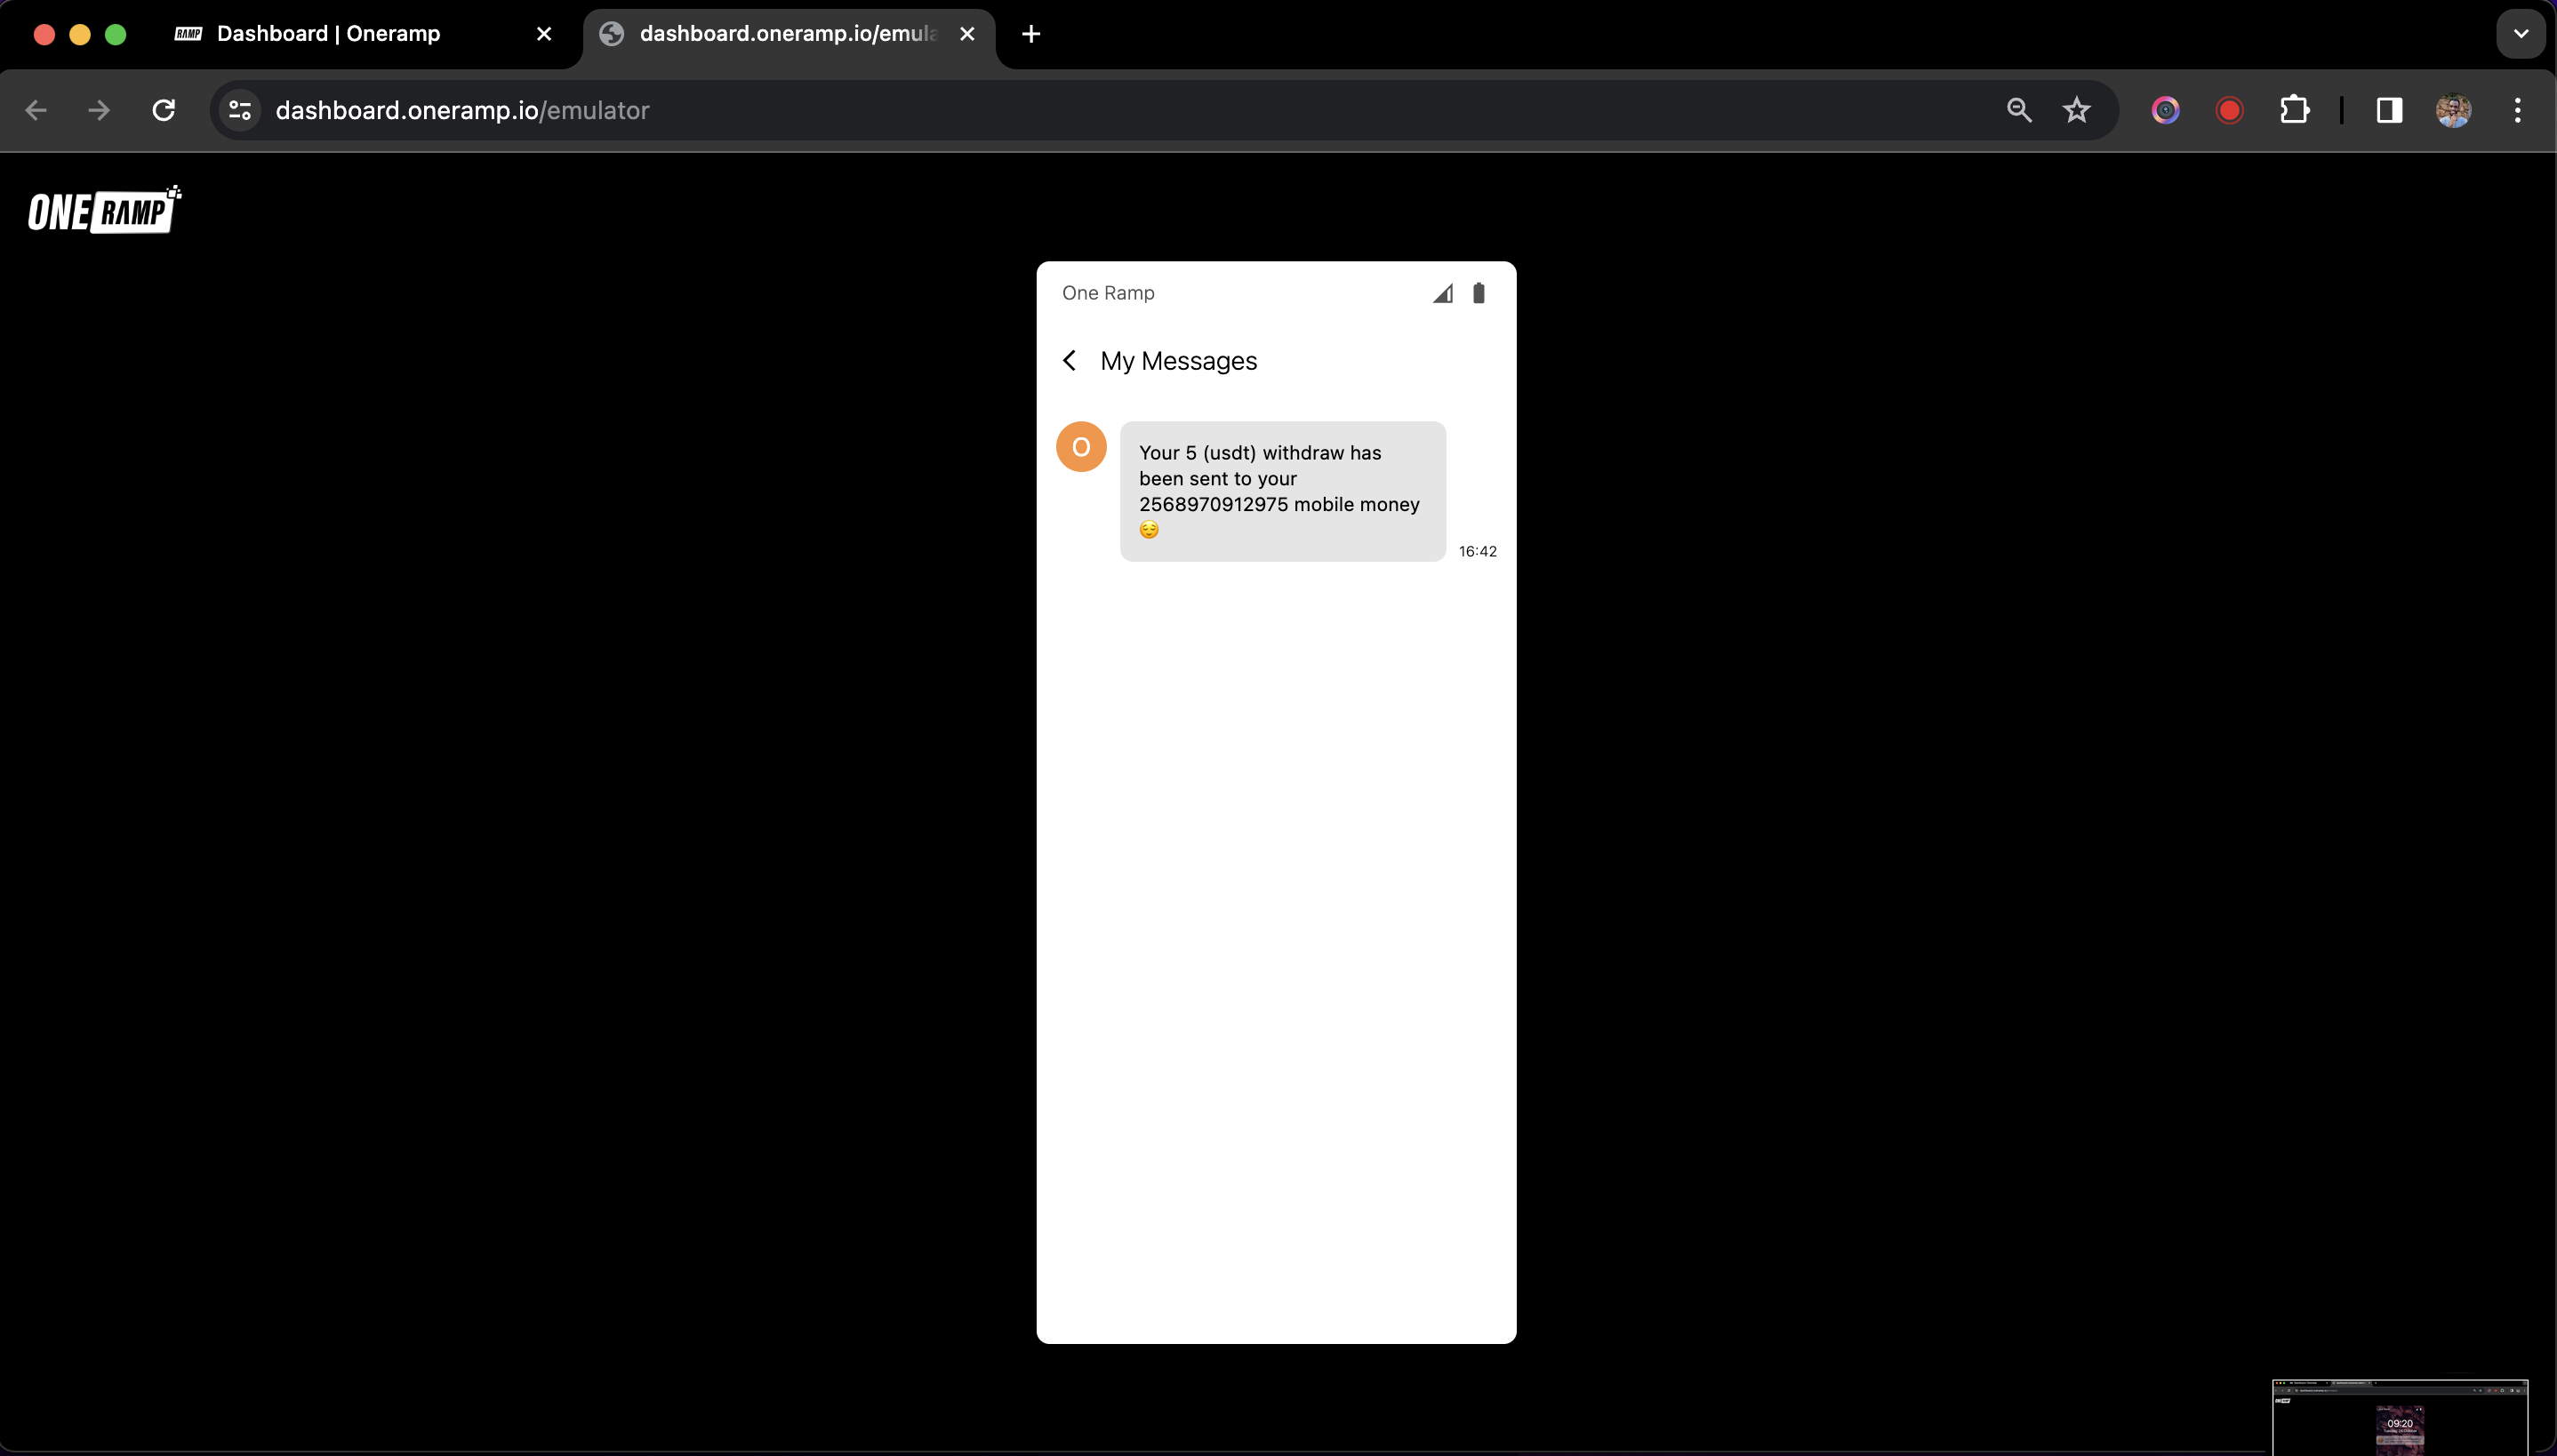
This structure ensures that the user can seamlessly off-ramp stable coins to mobile money using the OneRamp SDK, while also handling potential errors and providing feedback throughout the process.
Find the full code on GitHub here:
This tutorial covers the basic integration of the OneRamp SDK into a React app using Next.js. You can expand on this foundation by adding more features and customization to fit your specific requirements.